Mastering Canon camera settings doesn’t have to feel like rocket science but is something that can transform your photography. If you’ve peeked at my posts on how to edit travel photos or what’s in my camera bag, you know I love sharing practical tips.
Drawing from my own adventures using my Canon EOS R6, alongside insights from photography pros, we’ll break down the essentials in this beginner-friendly guide.
This post may contain affiliate links. Your purchase through these links supports me with a commission, at no added expense to you.
KEY TAKEAWAYS
- This post is a straightforward, practical beginner’s guide to Canon camera settings. Focusing on the core exposure triangle (aperture, shutter speed, ISO) plus white balance and file formats to help you take control of your photography and move beyond Auto mode.
- It’s perfect for travel enthusiasts, hikers, and new Canon users who want to capture sharper landscapes, beautiful portraits, and stunning golden-hour moments without feeling overwhelmed by technical jargon.
- You’ll learn how each setting works with real adventure examples, a simple cheat sheet, Canon menu navigation tips, common mistakes to avoid, and advice for different scenarios so you can confidently shoot better photos on your next trip and edit them with ease.

LIKE THIS POST? PIN IT HERE
THE BASICS OF CANON CAMERA SETTINGS: YOUR STARTING POINT
If you’re new to your Canon the key to great photos lies in understanding a few core settings: aperture, shutter speed, ISO, and white balance. Basically, these are like the ingredients in a recipe; tweak them to suit your scene, and you’re golden.
Canon’s menu system, especially on newer models, is super intuitive, letting you adjust these with buttons or a touchscreen while you’re out exploring.
Aperture: Controlling What’s in Focus
Aperture is like your camera’s eye – it decides how much light comes in and how sharp your photo is. It’s measured in f-stops, like f/2.8 or f/11. A lower number (e.g. f/2.8) lets in more light and blurs the background, perfect for portraits. A higher number (e.g., f/8 or f/11) keeps everything sharp, great for when you’re trying to capture the landscape in all its glory. According to Canon USA, Canon’s Aperture Priority mode (Av on your mode dial) lets you pick the f-stop while the camera handles the rest – making it super easy for beginners.
Shutter Speed: Freezing or Blurring Motion
Shutter speed controls how long your camera’s sensor sees the scene. Think of it as a window blind opening and closing. Fast speeds like 1/1000+ freezes motion, like a bird flying by. Slower speeds like 1/10s create blur, like silky waterfalls, (but make sure to bring along a tripod). According to Digital Photography School, Canon’s Shutter Priority mode (Tv) is great for beginners to lock in a speed while the camera adjusts other settings.
ISO: Brightening Your Shot
ISO decides how sensitive your camera is to light. Low ISO (100-400) works in bright daylight for clear, crisp photos (this is mainly where I like to play). Whereas higher ISO (800-3200) helps in dim light, like dusk on a trail. But, just be warned, bumping you ISO too high can make photos grainy. According to Photography Life, Canon’s Auto ISO is a lifesaver for beginners – according to your preference, set a cap in the menu to keep things clean.
White Balance: Getting Colours Right
White balance makes sure your photos colours look natural, not too blue or orange. Canon’s Auto White Balance (AWB) works well for most scenes, but you can tweak it for special moments. Fstoppers are right in saying that shooting in RAW lets you fix colours in editing (along with some other helpful tips about RAW). RAW is the only format I shoot in as it’s something I heavily rely on, especially when it comes to editing photos for a great final product.

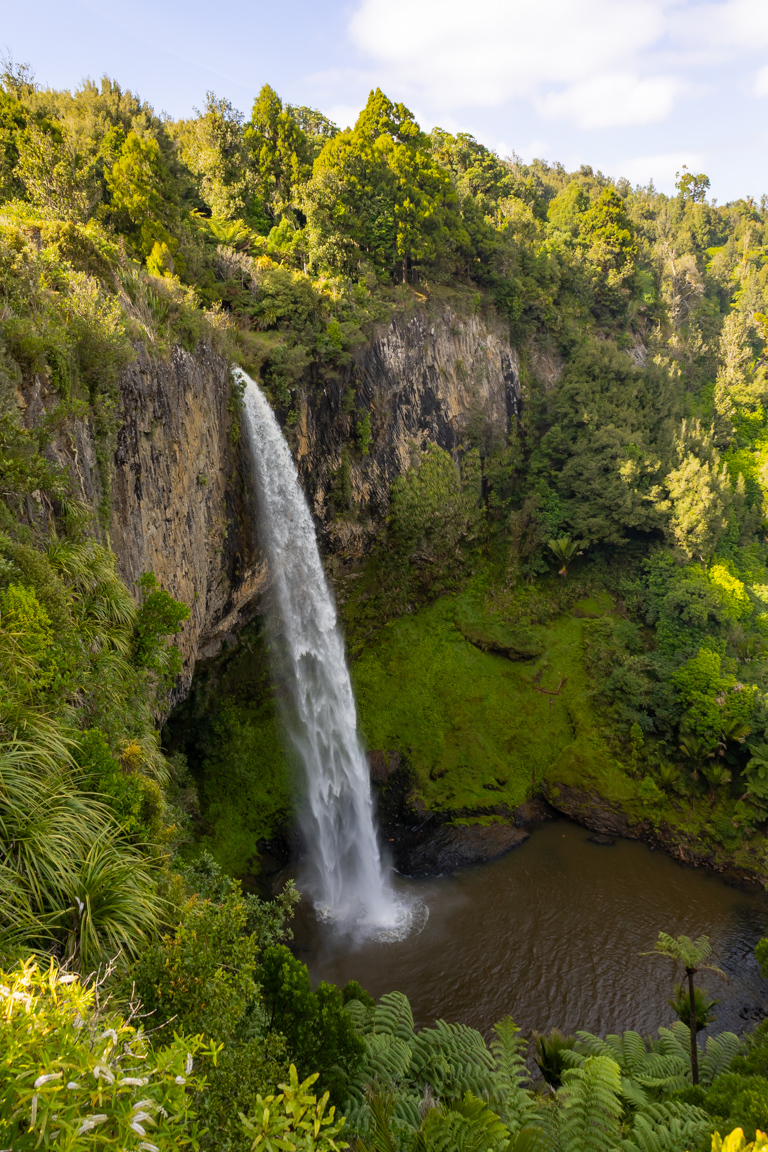
CANON CAMERA CHEAT SHEET
Here’s a simple Canon camera settings cheat sheet for beginners:
Setting |
What It Does |
Best For |
|
Aperture |
Controls focus depth |
Landscapes (higher), Portraits (lower) |
|
Shutter |
Freezes or blurs motion |
Action (higher), Waterfalls (lower) |
|
ISO |
Brightens the shot |
Daylight (lower), Low Light (higher) |
|
White Balance (AWB) |
Fixes colors |
Most scenes |

OTHER POSTS YOU MIGHT LIKE
USING CANON CAMERA SETTINGS IN REAL ADVENTURES
Now, let’s see how these basics work in travel scenarios. I’ve kept this simple, focusing on moments you’re likely to encounter, with tips from pros to make it foolproof. I am a little biased here as I always shoot in Manual Mode but based on what I know, the following is great for beginners exploring Canon Camera Settings.
On the Trail: Capturing Landscapes
For epic mountain or forest shots, use a higher f-stop like f/8+ to keep everything sharp. Set ISO 100 for daylight and 1/500s shutter to avoid blur if you’re handheld. Although depending on how bright your scene is, you could bump this up significantly. According to Outdoor Photographer, Canon’s evaluative metering balances bright skies and dark trees perfectly. On a recent hike, I used f/10 to capture forest scenery in sharp detail, just make sure to check the histogram on your Canon’s screen to avoid over bright skies.
Travel Portraits: Capturing People in Nature
If capturing people and portraits are more what brings your stories to life then it’s best to use a lower f-stop like f/4. This will blur the background, making your subject the main focus of the image. Set auto ISO and a shutter speed of 1/125s or faster to freeze their different expressions.
Low Light: Sunsets and Dusk
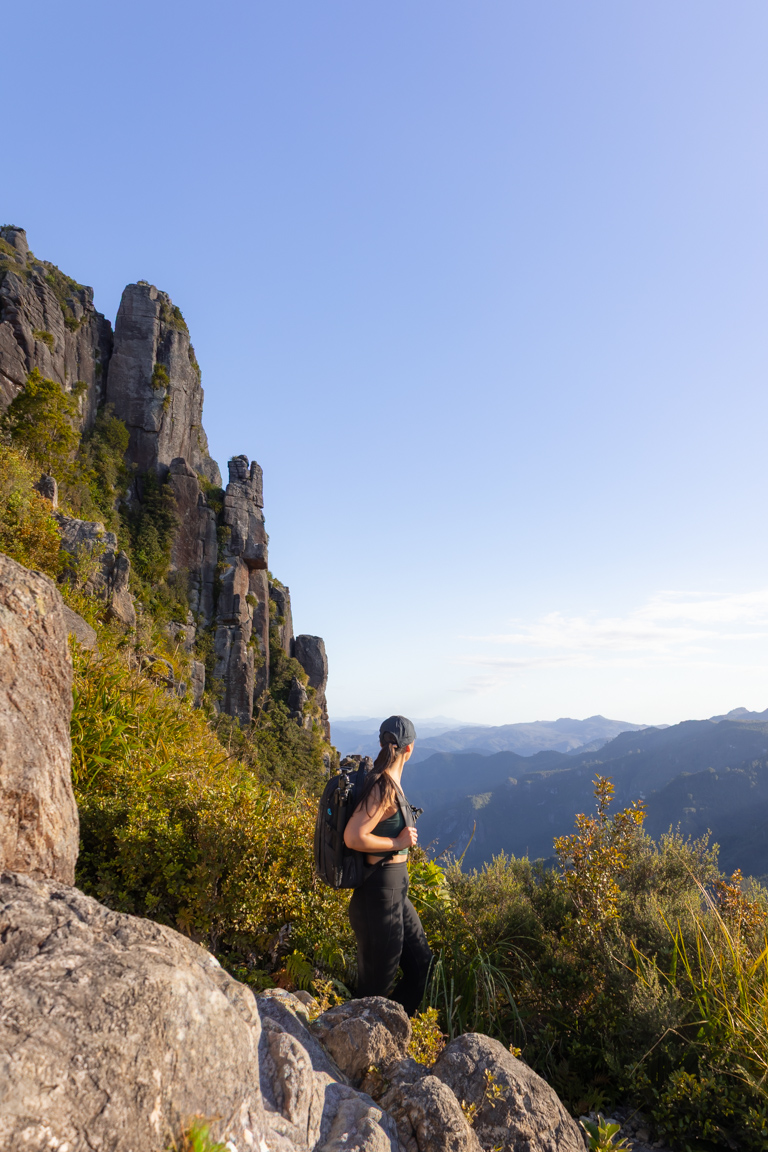
For golden-hour trails, use f/4 to bring in more light and a higher ISO (or play with both f-stop and ISO in tandem to see what works best), along with a 1/125 shutter. According to PetaPixel, Canon’s low-light performance shines with Auto ISO, but make sure keep an eye on grain. Although it is something you can enhance when you’re editing, it’ll save you a bit of time in post if you capture it with a setting that doesn’t cause pixilation (i.e. ISO).


COMMON MISTAKES WITH CANON CAMERA SETTINGS
We all slip up – here’s how to avoid common Canon camera settings errors, learned from my own oopsie moments.
- Blurry Photos: If shots are fuzzy, it’s likely that your shutter is too slow. Bump this up and always check your lens’s image stabiliser (IS) is on if you can’t stabilise the camera handheld or with a tripod.
- Grainy Images: High ISO in bright light causes noise. Use a lower ISO to avoid this. I’ll typically go low in my ISO as possible as I’m mainly shooting during the day but make sure to play around with this, the f-stop and shutter speed.
- Wrong Colours: If photos look blue or orange, check white balance and if needed, reset to AWB.
- Dark or Bright Shots: Make sure to keep checking your Canon’s histogram for exposure.
WHAT'S NEXT
That’s your beginner’s guide to Canon camera settings – aperture, shutter speed, ISO, and white balance are all you need to start capturing stunning travel photos. Play with Av or Tv mode, or even full manual mode if you’re feeling up to it! Make sure to keep ISO low in daylight, and additionally, shoot RAW for easy edits. These basics are like training wheels – once you’re comfortable, you’ll be ready for more!
If you’re planning to explore New Zealand and would like some company, I offer personalised experiences where I capture moments along the way, so you can head home with some incredible memories.
Also, if you plan to explore more of New Zealand, I create personalised 1:1 travel itineraries tailored to your interests, travel style, and how you like to explore. Whether you’re chasing epic hikes, photography spots, or a relaxed road trip, I’ll help you build an itinerary that makes the most of your time. You can get in touch with me through my contact form here.
Need gear tips? Check my Essential Photography Gear for Hiking. Or, if you’re looking plan your next scenic hike,check out our other New Zealand travel guides for trails, photography spots, and outdoor escapes across the country. To explore all our locations and ideas, head over to our international destination guides.
FAQs
What is the best setting for a Canon camera?
There is no single “best” setting—it depends on the scene, light, and your goal (e.g., freezing motion vs. creative blur). Start with the exposure triangle as mentioned above and go from there.
What are the 5 basic camera settings?
The core ones are the exposure triangle plus two essentials:
- Aperture (f-stop): Controls light and depth of field.
- Shutter Speed: Controls shutter – motion blur or freeze.
- ISO: Controls sensor sensitivity to light.
- White Balance: Ensures accurate colours.
How to set image quality in Canon camera?
Go to Menu → Shooting tab (red camera icon) → Image Quality (first option). Select RAW.
What are the best camera settings for photos?
These are just some of the settings that I would suggest but it is very much based on personal preference too:
- Daylight Landscapes: Aperture f/8–f/11, ISO 100, shutter 1/500s+ (or slower with tripod).
- Portraits/People: Aperture f/2.8–f/5.6, ISO Auto (capped), shutter 1/125s+.
- Low Light/Sunsets: Wider aperture (f/4), higher ISO (up to 1600–3200 on R6), slower shutter (tripod recommended), check histogram.
OTHER PINS YOU MAY LIKE
Top Travel Resources to Plan Your Next Trip
Finding the Best Flights
Skyscanner: A great platform for comparing flight prices across airlines and routes.
Omio: Perfect for comparing not just flights but also trains and buses, especially for European travel.
Booking Your Stay
Hostelworld: Ideal for those specifically looking to budget on their travels and seeking hostels, guesthouses, or shared accommodations.
Booking.com: With a massive selection of hotels, apartments, and unique stays, this platform additionally has deals for frequent travellers.
Trivago: A powerful search engine for comparing hotel prices across multiple booking sites to find the best deals for your stay.
Renting a Car
Europcar: Offers a wide range of vehicles for hire in New Zealand and worldwide, perfect for exploring at your own pace.
AVIS: A trusted car rental service with a variety of vehicles and locations, ideal for seamless travel adventures.
Travel Essentials & Gear
Amazon.com: Your one-stop shop for travel gear, gadgets, packing essentials, and last-minute trip must-haves.
Discovering Amazing Activities
GetYourGuide: My go-to for booking tours, tickets, and activities in New Zealand and worldwide.
Everything New Zealand: A must for anyone traveling to New Zealand. This platform offers a curated selection of tours, activities, and adventures to make your Kiwi trip epic.
G Adventures: For small-group tours with a focus on sustainable and authentic travel, G Adventures is unbeatable.
Capturing Your Memories
MILK Books: Create stunning photo books to preserve your travel memories. Expect high-quality prints and customisable designs.
These links are affiliate links. If you book through them, I earn a small commission at no extra cost to you. Your support helps me keep sharing guides like this. Thanks for helping fuel the next adventure!
LATEST FROM THE BLOG
A SUMMARY OF ESSENTIAL CANON CAMERA SETTINGS
- Post Overview: Beginner-friendly guide to mastering essential Canon camera settings (aperture, shutter speed, ISO, white balance) using the EOS R6 as example, with practical travel photography applications for landscapes, portraits, and low-light adventures. Draws from personal experience and pro insights for simple, effective results.
- Key Concepts: Breaks down the exposure triangle, Canon modes (Av, Tv, Manual), RAW shooting benefits, and a handy cheat sheet. Emphasizes real-world use on trails, golden hour, and avoiding common mistakes like blur or noise.
- Best For: New Canon users, travel/hiking photographers, and hobbyists wanting to move beyond Auto mode to capture sharper, more creative images without overwhelm. Ideal for those editing travel photos later.
- Access & Logistics: Focuses on intuitive Canon menu navigation (e.g., Image Quality for RAW). No special gear beyond basics like tripod for slow shutters. Works across many Canon models.
- Tips: Shoot RAW, use histogram, start in Av/Tv modes, keep ISO low in daylight, enable stabilization. Play with settings in Manual once basics click. Check exposure in-camera to save editing time.
- Nearby/Related: Links to camera bag essentials, photo editing guides, New Zealand/international travel destinations for applying the skills.
- Safety & Practicality: Avoid high ISO noise, use tripod for stability in low light, practice in varied conditions. Histogram prevents lost details in high-contrast scenes common in travel.