Looking to visit Cape Brett? In this post, we’ll go through everything you need to know about hiking this incredible trail.
This post may contain affiliate links, which means I’ll receive a commission if you purchase through my link, at no extra cost to you.
I really mean it when I say that Cape Brett isn’t just a destination. The journey is full of incredible views and lush forest, it really is a hike that is worth the effort.
KEY INSIGHTS
Location: Bay of Islands, Northland, New Zealand
Duration: 11-12 hours
Length: 30.3km
Elevation: 1791m
Difficulty: Difficult
Open: Year-round
Need to have: An overnight pack with all of your essentials. Plenty of water, food, sun protection, spare clothes and a walking permit (explained below).
LOCATION AND HOW TO GET THERE
Located in the picturesque Bay of Islands, Cape Brett stands proudly at the head of Cape Brett Peninsula in Northland, New Zealand.
If you’re traveling from Auckland, expect a journey of approximately 3 and a half hours. For those coming from Whangarei, it’s about a 1 and a half hour drive north. The route to Cape Brett is straightforward, mainly via State Highway One and Russell Road, then Rawhiti Road.
If you’re planning on staying close by, Paihia is the closest township. It is approximately 1 hour and 15 minutes from the Cape Brett entrance. There are plenty of other great places to stay from here if you would like to be closer to the entrance for an early start.
CAPE BRETT PARKING
When it comes to parking for your Cape Brett adventure, you have a couple of options to consider.
The first option is parking at Hartwells at Kaimarama Bay, situated at the end of Rawhiti Road. However, I highly recommend 253 Rawhiti Road, Kaingahoa which is where we parked. No need to book in advance, but bring $10 cash for parking.
From here it’s only an additional 10 minute walk to the start of the trail.
If you are planning on hiking one way and then returning via ferry at Deep Water Cove you can book this in advance through the Bay of Islands Water Taxi here.
WEATHER
Since the track is open year-round, you can pick and choose your ideal time for the hike.
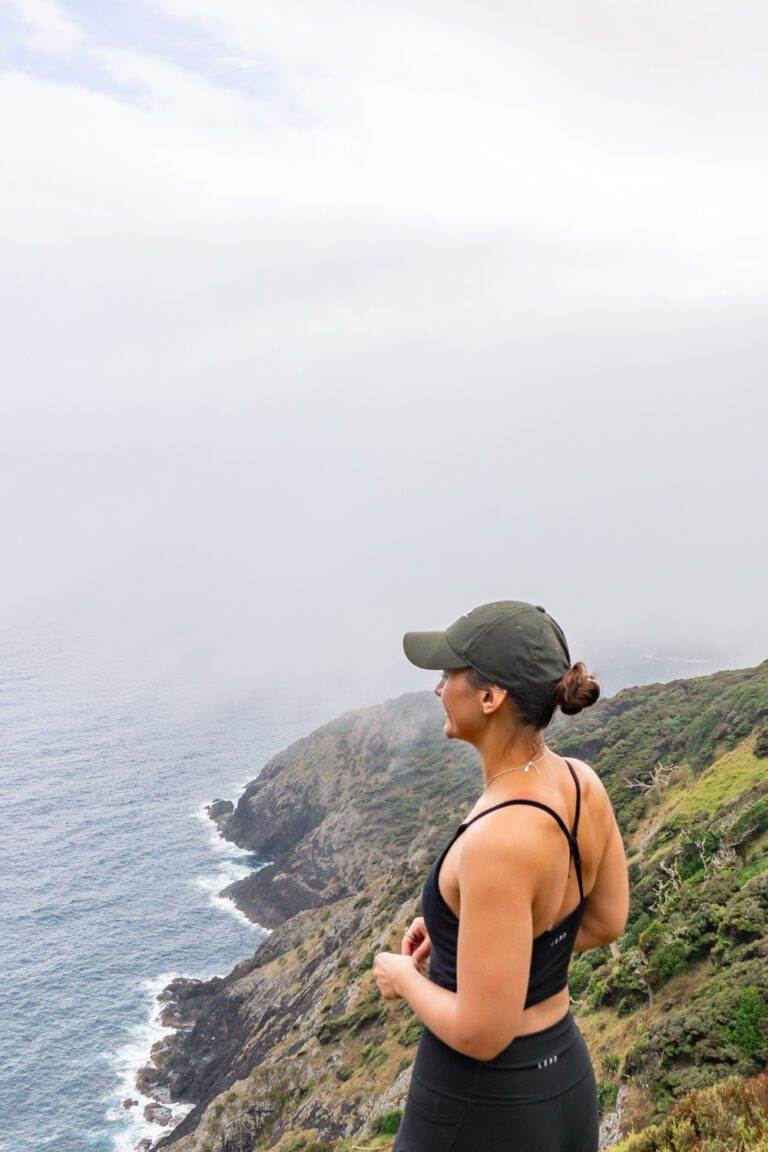
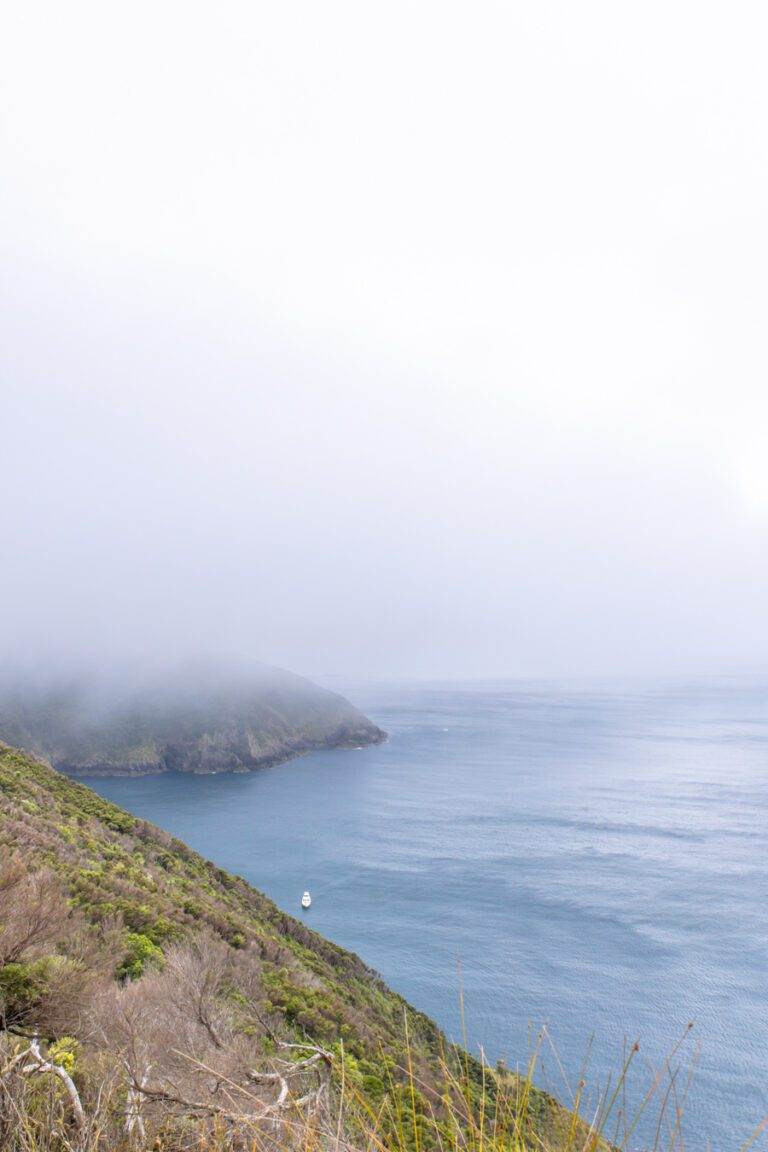
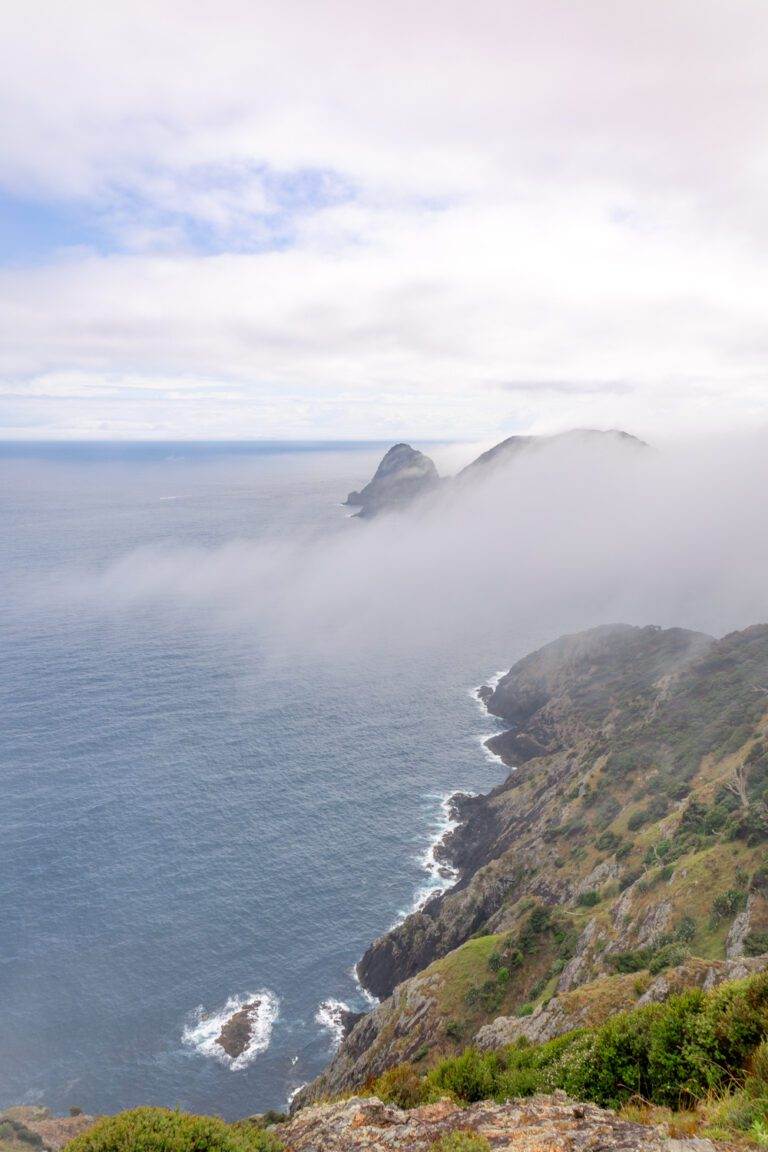
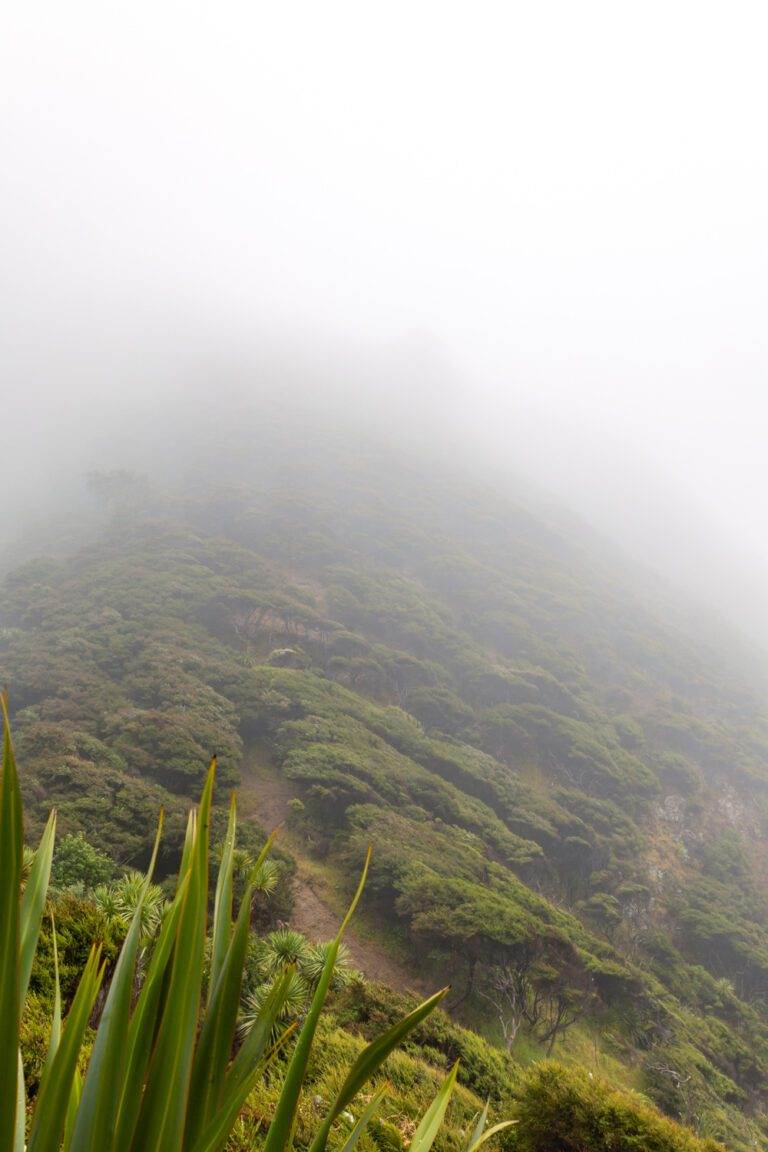
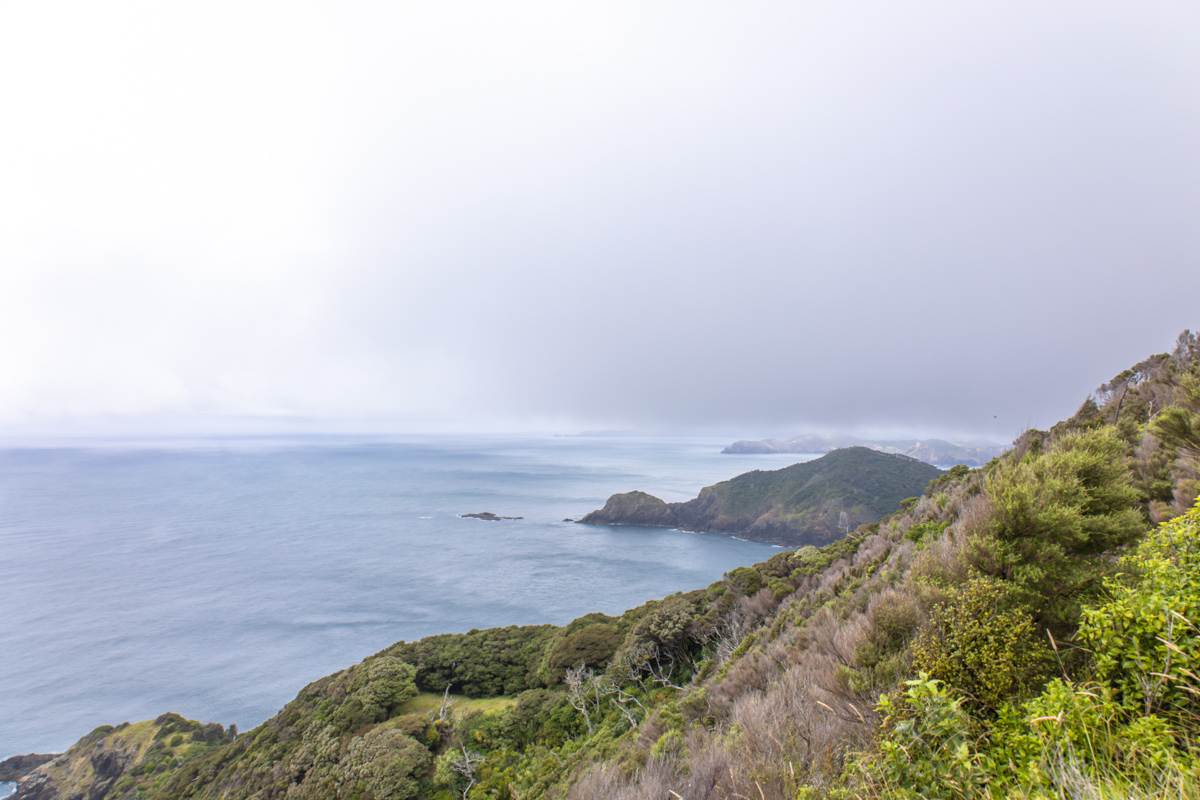
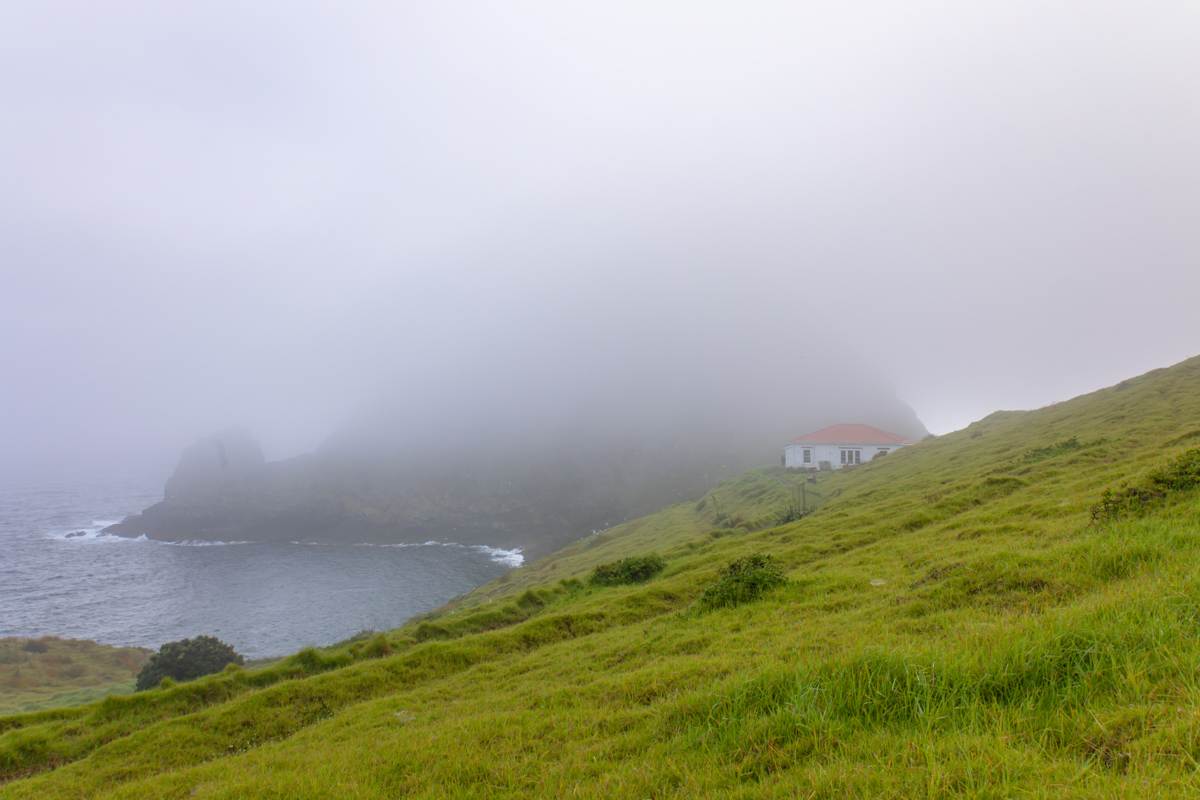
We hiked at the end of December and even though this is New Zealand summer time, we didn’t have the best of luck with a lot of low lying fog. However, the views were still incredible and I would do it again in a heartbeat.
Summer is the best time to hike but also the busiest, so if you’re staying in the hut, make sure to book in advance.
CAPE BRETT TRACK
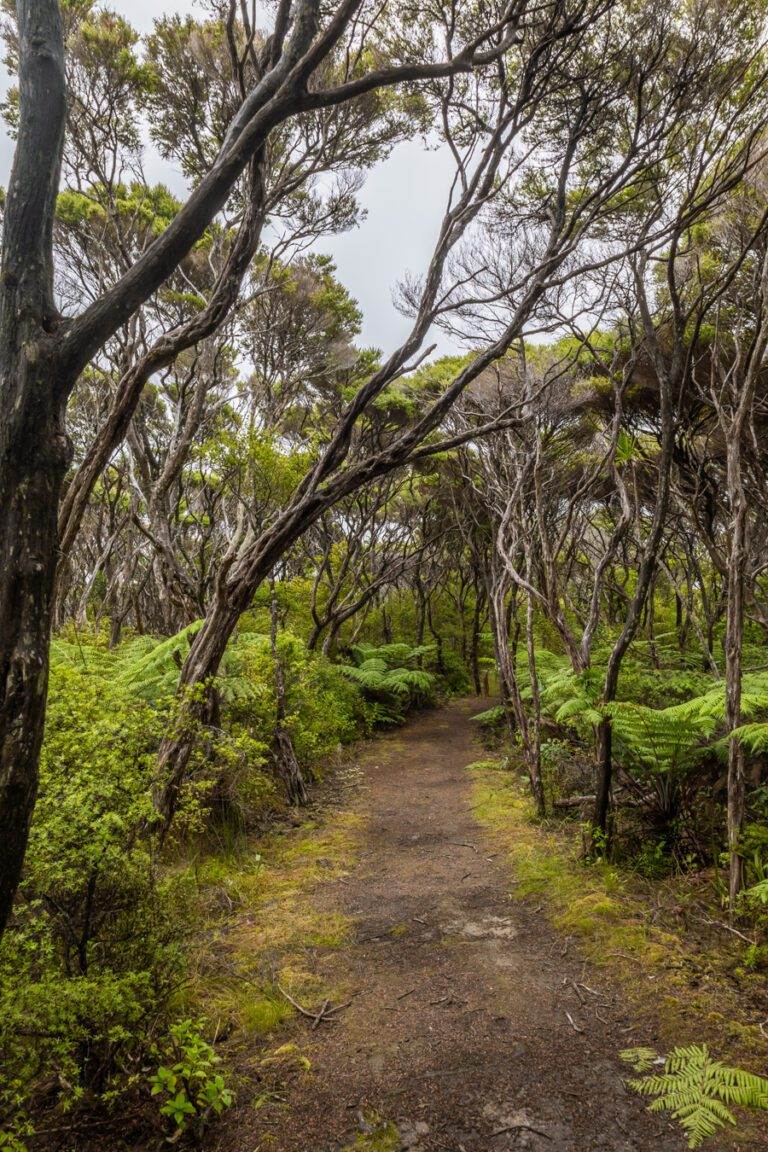
The journey along the track is stunning. As you hike the trail, you’ll find yourself immersed in lush native forest, insane lookouts across the Bay of Islands and as cliche as it sounds, the incredible sounds of nature.
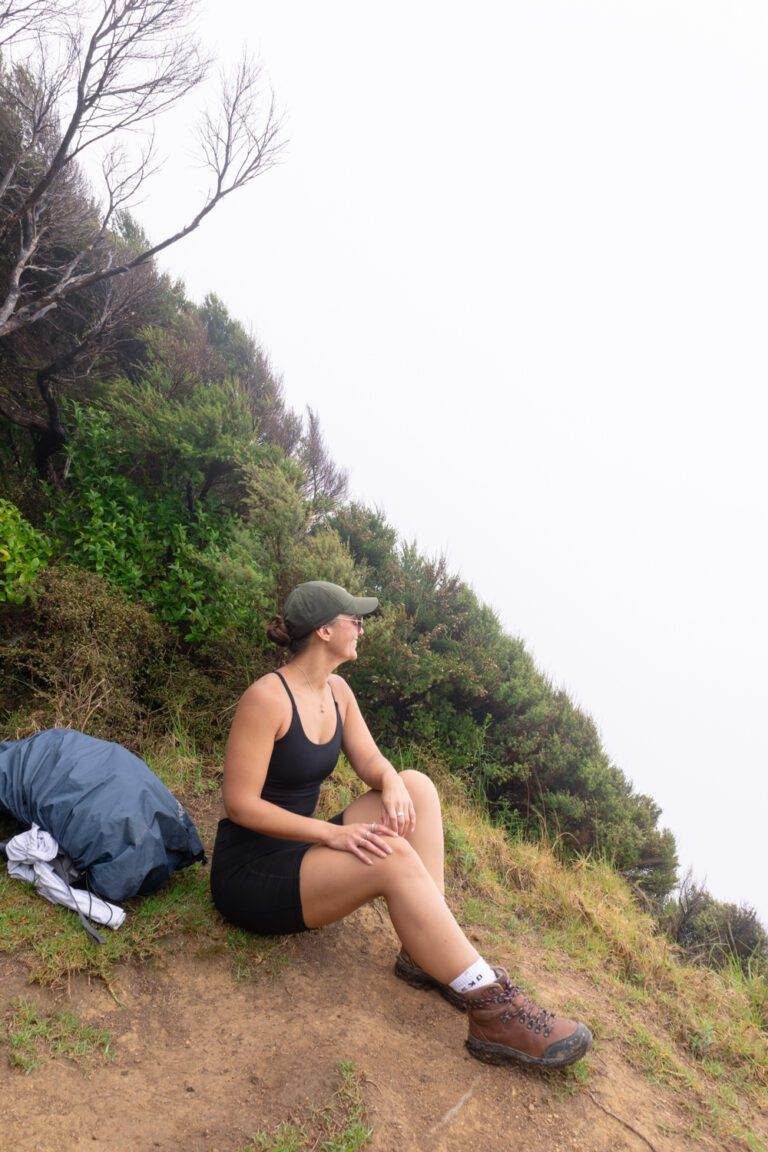
In terms of the track itself, Cape Brett is considered ‘advanced’ and in my experience, this isn’t due to its length but for its challenging terrain. We also hiked this route shortly after rain so many sections were quite muddy, making me very thankful for my sturdy hiking boots. I was also thankful for the clear signage marking each kilometre, ensuring celebrations of progress.
When starting your hike, prepare yourself as it goes straight into a steep incline for the first two kilometres. After descending, you’ll then encounter another uphill climb around kilometre five. We found the middle part of this hike the easiest as it offers a little more level terrain providing a chance to catch your breath. Just over halfway through, a hut offers a perfect spot for a rest, equipped with a picnic table for a well-deserved break.
The final stretch proved challenging, especially the up-and-downhill sections, making the hike from the lighthouse along the switchbacks to the hut daunting. Thankfully I had walking poles which helped this nana get to her destination.
For a more in depth overview of the trail, refer to AllTrails here. Under the navigate tab you can see more detail.
One last tip is that it is essential to obtain a walkway permit before hiking Cape Brett. This is due to the walk crossing private land. If you are entering from Deepwater Cove to Cape Brett Hut this permit isn’t required.
CAPE BRETT HUTT
Staying at the Cape Brett Hut marked my inaugural overnight hiking experience, and it turned out to be an excellent initiation into the world of hut accommodations.
Don’t get me wrong, you shouldn’t be expecting 5 star here but it was pretty well set.
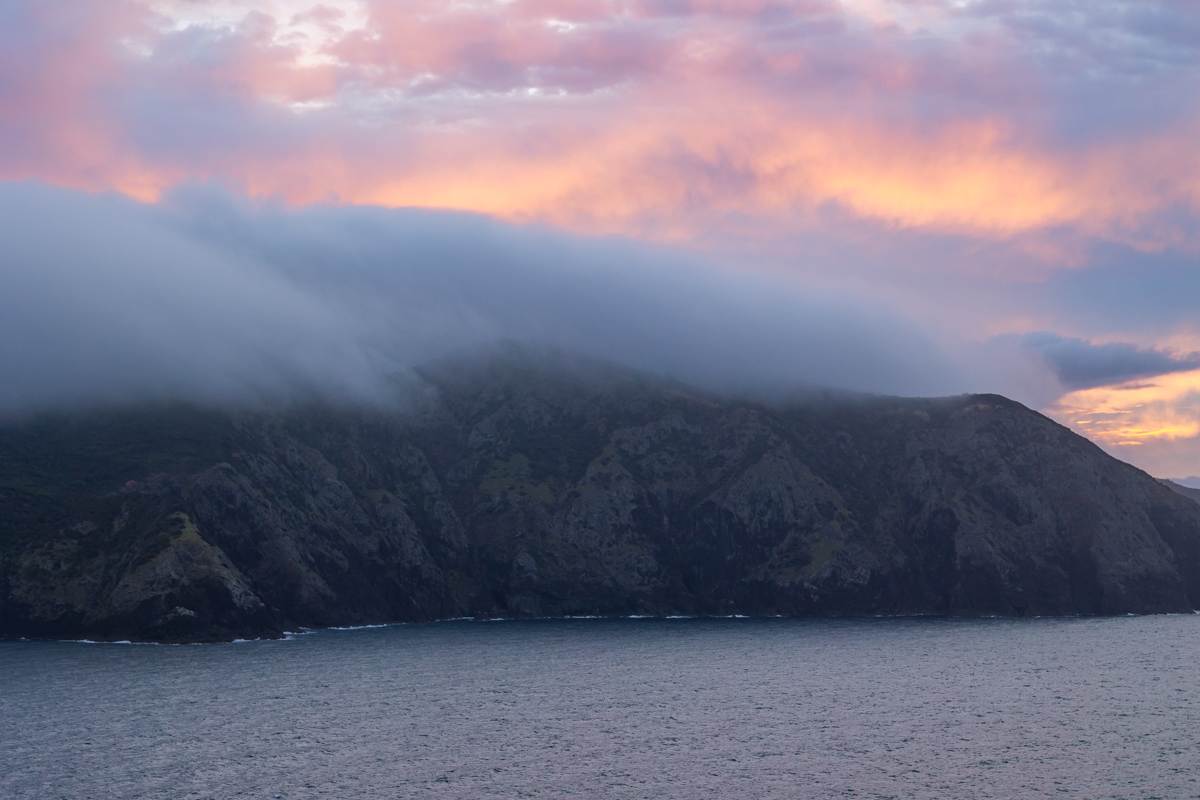
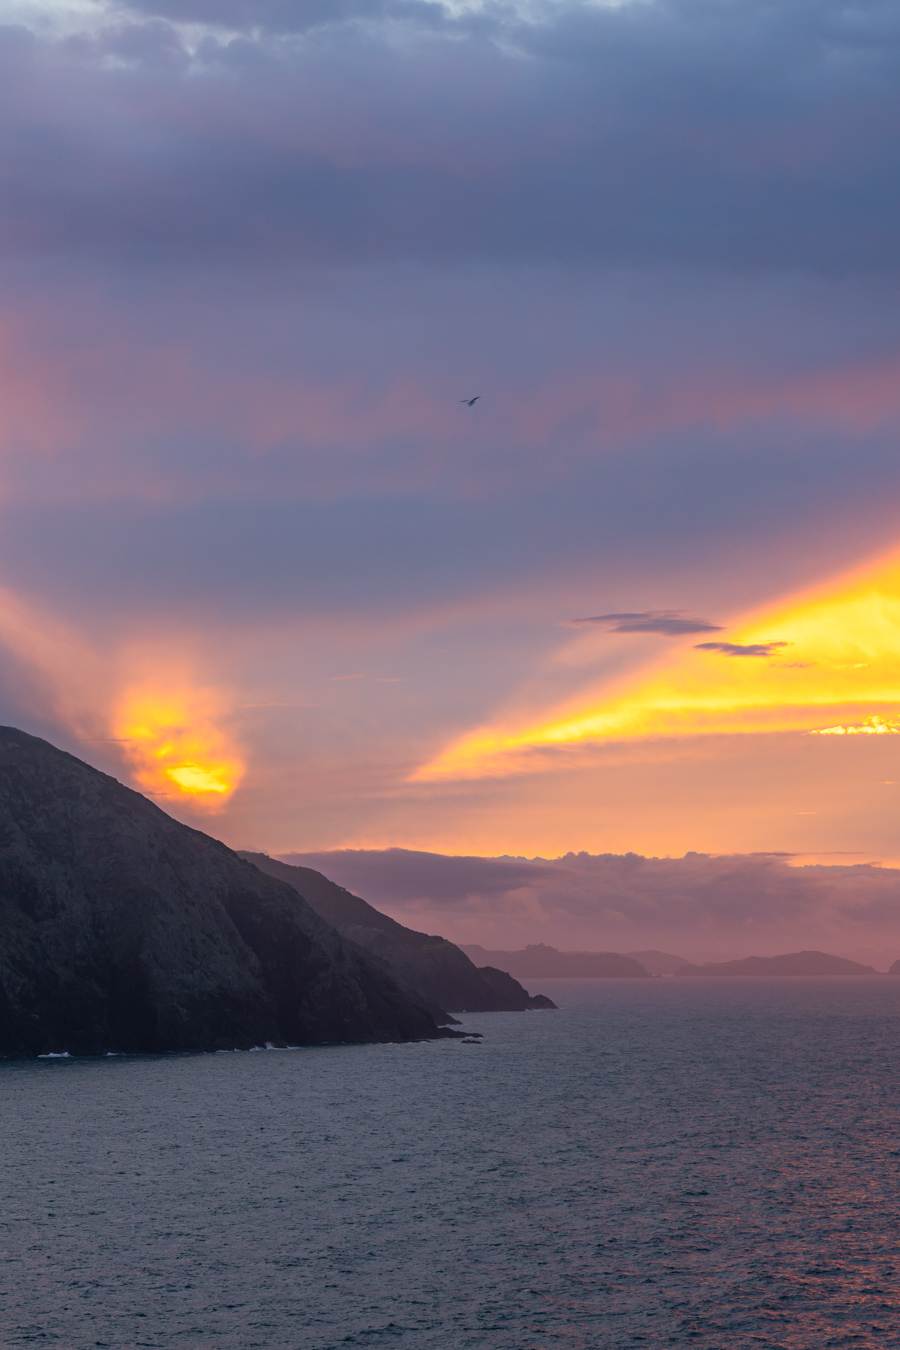
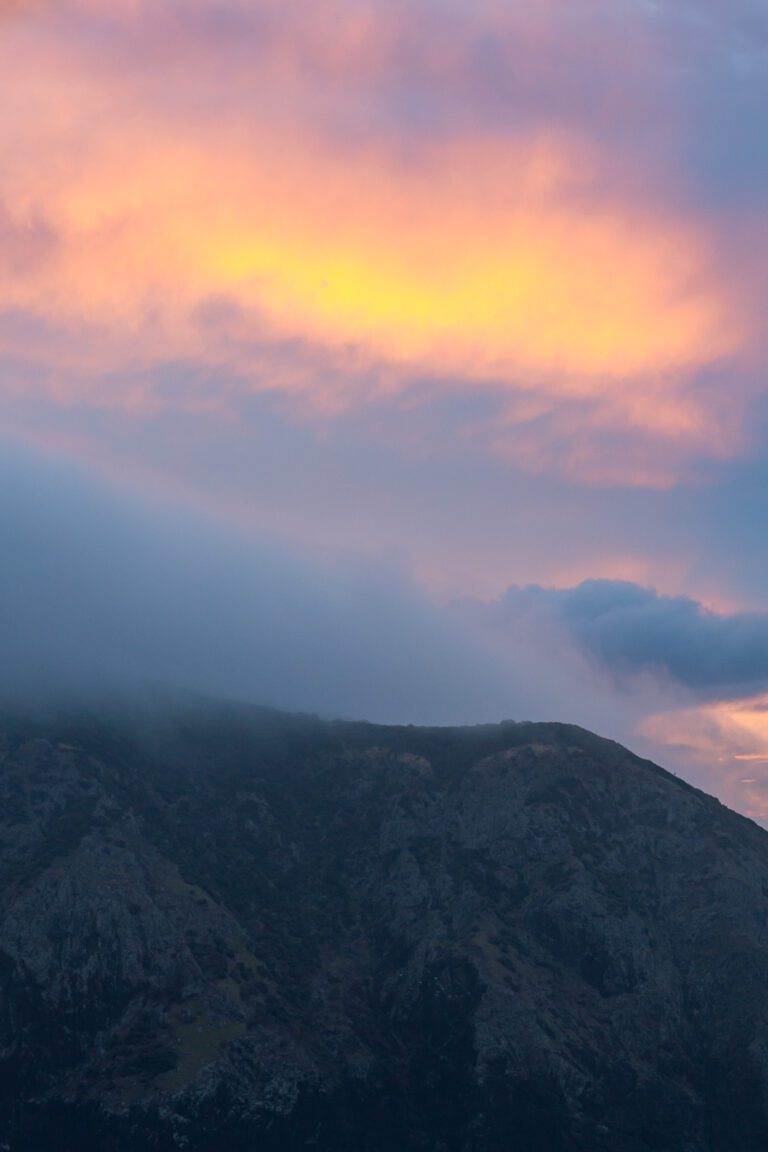
The hut boasts 23 bunks spread across three rooms (11, 10, and 2), along with two toilets (no showers). Fortunately, mattresses are provided onsite, lightening the load for us hikers. With two stovetops available for meal prep and ample outdoor space to admire the sunset, the hut offers all the essentials for a comfortable stay. Speaking of sunsets, don’t miss out on witnessing one here. It was undoubtedly the highlight of our hike, as the hut’s location offers breathtaking views extending north into the Pacific Ocean.
While there is drinkable water available, it’s advisable to boil it first and even then you will still get the strong taste of salt. I’d strongly recommend bringing sufficient water for your entire hike, there and back.
Please note that bookings are necessary for the Hut, which you can arrange through here. This is also where you can check for availability.
In closing, I trust this blog post has provided you with both visual inspiration and practical insights into the wonders of Cape Brett and the broader beauty of New Zealand’s Northland. With its rugged cliffs, lush forests, and panoramic vistas, Cape Bretts allure is truly unparalleled.
FAQs:
Can you do Cape Brett in a day? If you are a trail runner, yes! With a good fitness level, you can hike from the entrance to the lighthouse and return via Deep Water Cove ferry.
Can you tent at Cape Brett? Camping is not allowed at Cape Brett
Where do you park for Cape Brett hike? Please refer to CAPE BRETT PARKING above
How long does Cape Brett walk take? Please refer to SOME QUICK THINGS TO NOTE above
